How to Mat a Print
Matting is the single highest-return thing you can do to an inexpensive print. It is also mostly arithmetic.
By Janet H. · Published
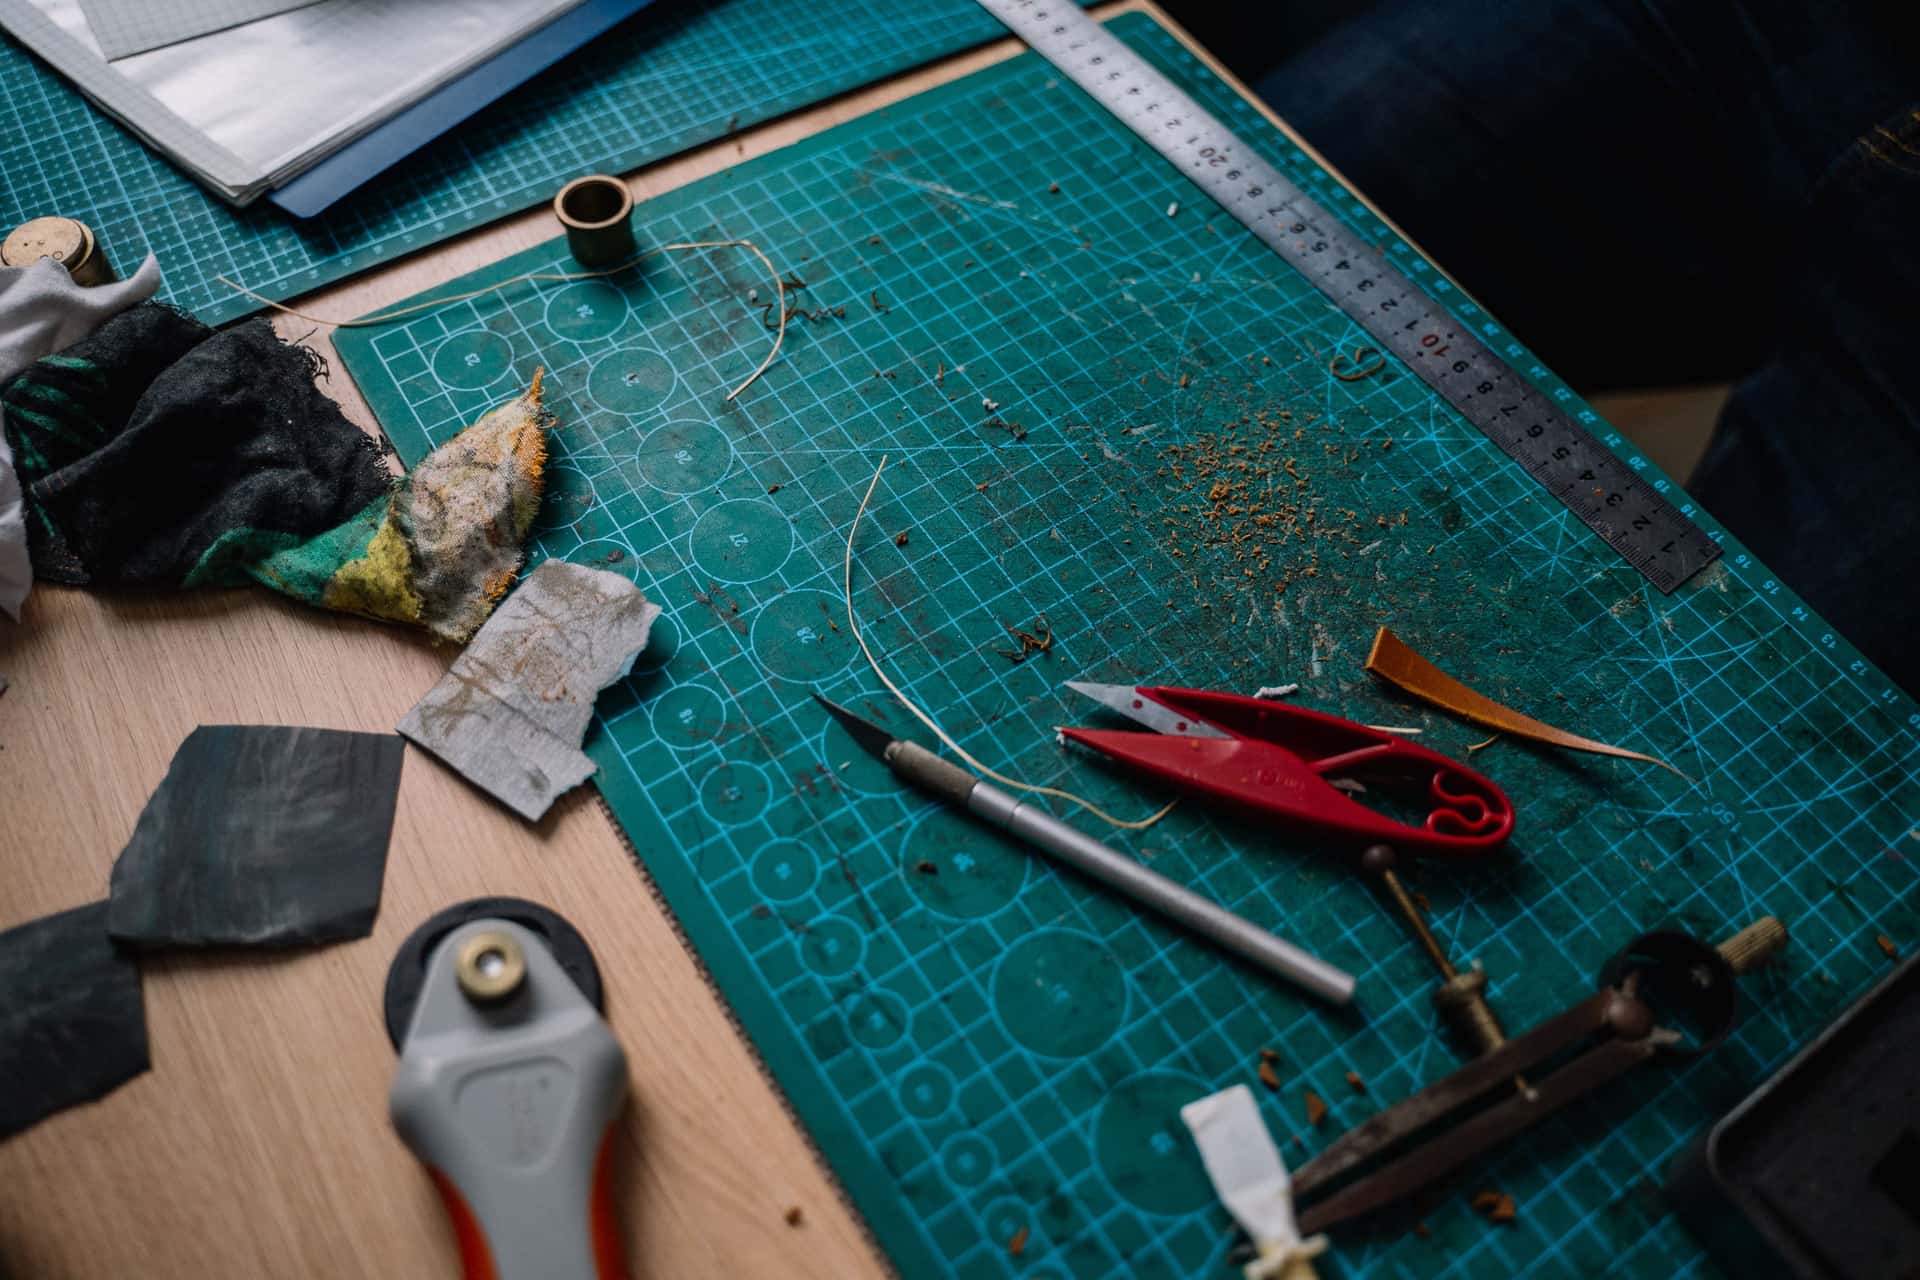
Cut the opening about a quarter inch smaller than the print on each side, so the paper edge sits behind the board rather than flush with it. Then attach the print with archival hinging tape along the top edge only, so it hangs rather than being stuck down.
For standard sizes, buy the mat pre-cut — it costs a fraction of the tools and comes out better than a first attempt with a craft knife.
Disclosure: Hang & Hue earns commission from qualifying purchases made through the links on this page, at no extra cost to you. As an Amazon Associate we earn from qualifying purchases. It does not change which products we recommend or the order they appear in — read our editorial policy and full affiliate disclosure.
Quick picks
Tap any row to jump to the full write-up.
| # | Product | Best for | Price |
|---|---|---|---|
| 1 | 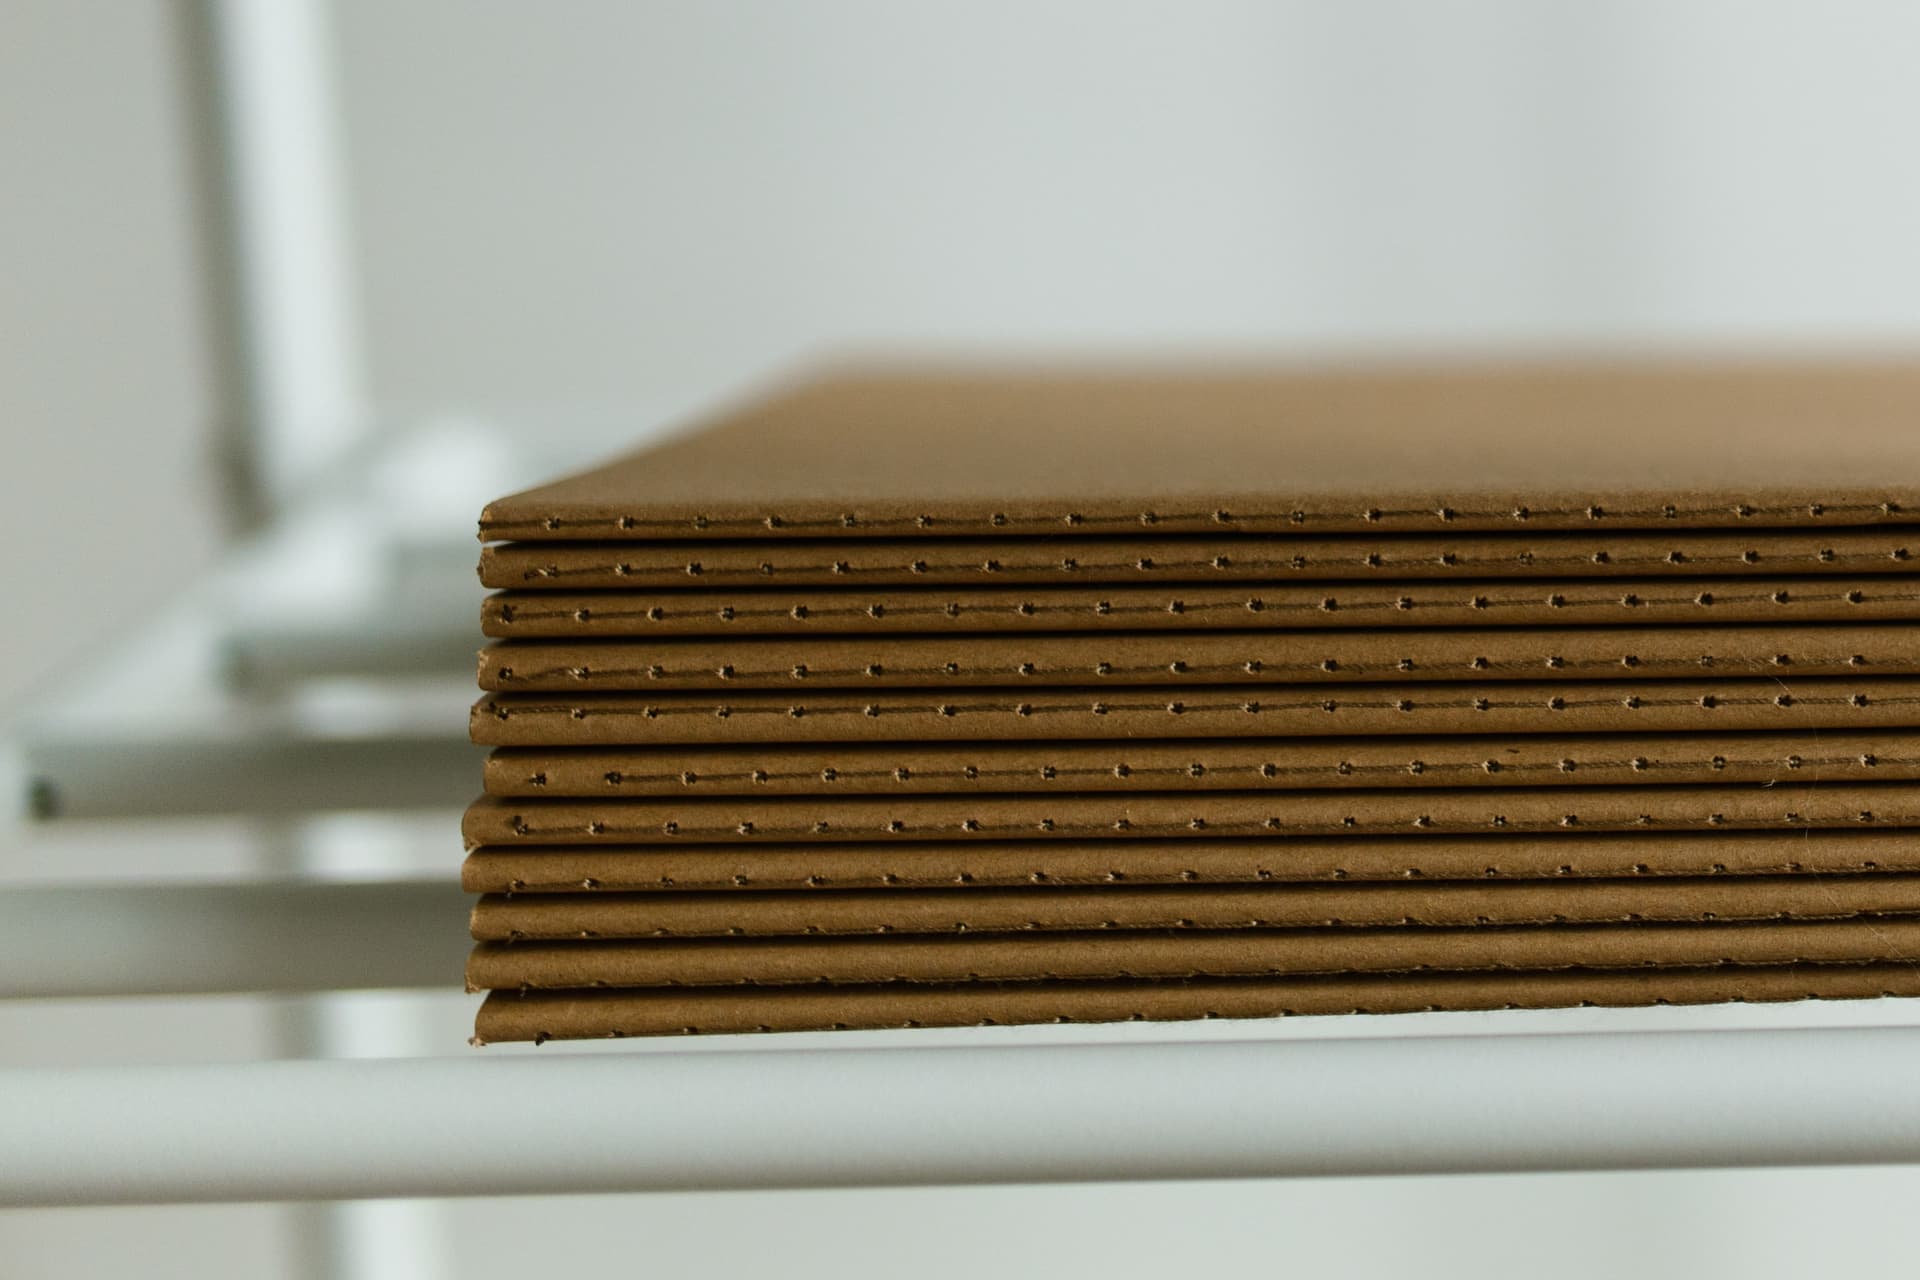 Golden State Art Pre-Cut Mat Board Acid-free board with a clean bevelled opening in the standard step-downs, usually with a backing board and sleeve included. | Best pre-cut mats | |
| 2 | Frametory Pre-Cut Mat Board Acid-free pre-cut mats in white and ivory, in multi-packs — which is how you put the same mat in every frame on a gallery wall. | Best for a whole wall | |
| 3 | 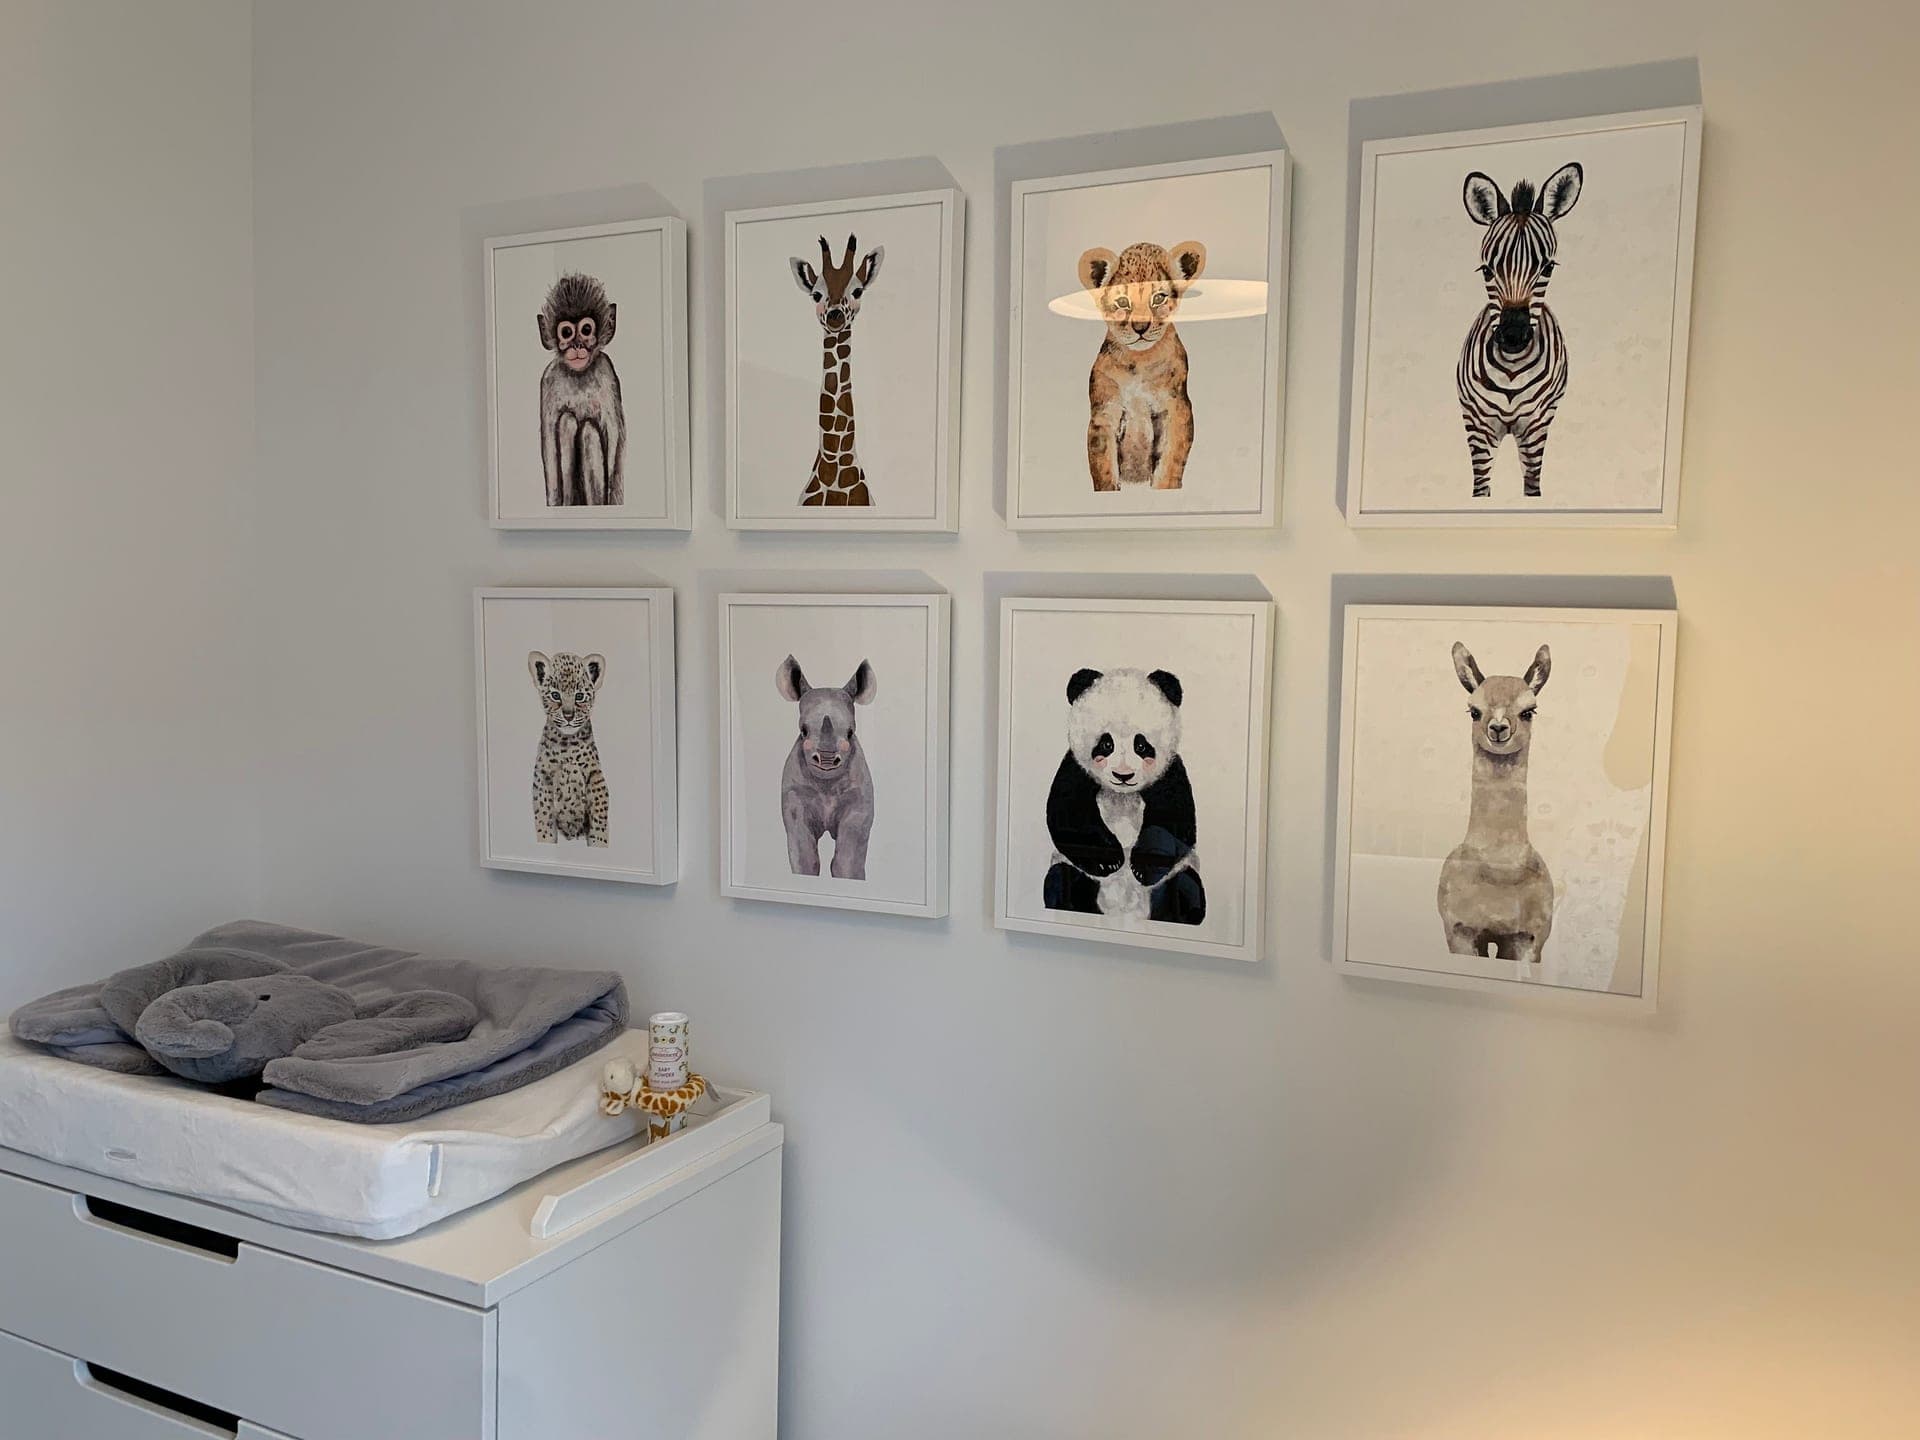 Golden State Art Matted Picture Frame Frame and acid-free mat in one purchase, already cut and assembled. For a standard print it is the least work and often the least money. | Best if you would rather skip all this | |
| 4 | Americanflat Matted Picture Frame The mat lifts out, so you can start with the supplied mat and swap in a cut-to-size one later without buying another frame. | Best removable-mat frame |
Working out the sizes
Three numbers, in this order:
- The opening. Print size minus about 0.25 in on each side. An 8x10 print gets a 7.5 x 9.5 in opening, so the board overlaps the paper edge and holds it.
- The border. 2 to 2.5 in around a small print, 2.5 to 3.5 in around an 18x24, 3 to 4 in around a 24x36.
- The frame. Opening plus twice the border. A 7.5 x 9.5 opening with a 2.5 in border gives 12.5 x 14.5, so you buy a 16x20 frame and cut the mat to fit it.
| Opening | Border | Frame | |
|---|---|---|---|
| 5x7 | 4.75 x 6.75 | 2 in | 8x10 or 11x14 |
| 8x10 | 7.75 x 9.75 | 1.5 in | 11x14 |
| 8x10 | 7.75 x 9.75 | 3 in | 16x20 |
| 11x14 | 10.75 x 13.75 | 2.5 in | 16x20 |
| 12x18 | 11.75 x 17.75 | 3 in | 18x24 |
| 18x24 | 17.75 x 23.75 | 3 in | 24x30 |
| 24x36 | 23.75 x 35.75 | 3 in | 30x42 |
The full matrix is on the mat sizing page.
Choosing the board
Acid-free, always, for anything you would be sorry to lose. Ordinary board yellows within a few years and transfers the discolouration onto the print along the bevel, leaving a permanent brown line exactly where the eye goes.
Thickness: 4-ply is standard and 8-ply is double thickness, which gives a deeper bevel and reads as considerably more expensive. On a small print, 8-ply is a cheap way to look like custom framing.
Color: white or off-white works with almost everything. If you want color, pick the second-lightest tone in the artwork rather than the dominant one — matching the dominant color makes the image disappear into its own border.
Pre-cut or cut your own
| Pre-cut | Cutting your own | |
|---|---|---|
| Cost | Low | A mat cutter plus board — pays back after several mats |
| Sizes | Standard step-downs only | Any opening, any border |
| Bevel quality | Clean, machine cut | Takes practice; first attempts show |
| Double mats | Rarely available | Straightforward once you can cut one |
| Best for | Standard prints, most people | Odd sizes, volume, double mats |
If you do cut your own: use a proper bevel mat cutter, not a craft knife against a ruler. A straight-cut opening shows the board’s raw white thickness as a hard edge and it looks wrong in a way that is hard to name but easy to see.
Attaching the print
What not to use, in order of how often it is used anyway:
- Ordinary tape — yellows, and the adhesive migrates into the paper.
- Glue stick — permanent, and it cockles the print as it dries.
- Spray adhesive — permanent and impossible to reposition.
- Double-sided tape — permanent, and it hardens and stains over years.
Archival hinging tape and acid-free photo corners are the only two right answers. Corners are the more reversible of the two and need no adhesive on the artwork at all.
Assembling it
- Clean the glazing on both sides before anything goes in. Dust trapped inside is permanent until you take it apart again.
- Lay the glazing face down in the frame.
- Place the mat face down on the glazing.
- Position the print behind the opening and hinge it to the mat, not to the backing board.
- Add the backing board and close the clips or tabs.
- Check the front in raking light for dust before you hang it.
Then hang it: methods by rated weight and how high to hang it.
The picks in full
Each entry states what it is for, the specification that decides it, and who should skip it.
1. Best pre-cut mats
Golden State Art Pre-Cut Mat Board
Golden State Art
Acid-free board with a clean bevelled opening in the standard step-downs, usually with a backing board and sleeve included.
- Cut
- Pre-cut bevel opening, standard step-down sizes
- Material
- Acid-free board with backing and a clear sleeve on most packs
- Sizes
- Common pairs such as 11x14 matted to 8x10
- Packs
- Singles and multi-packs
The spec that decides it: Pre-cut bevel openings on acid-free board, in standard pairs.
Skip it if: Your opening is non-standard — pre-cut mats come in stock pairs only.
2. Best for a whole wall
Frametory Pre-Cut Mat Board
Frametory
Acid-free pre-cut mats in white and ivory, in multi-packs — which is how you put the same mat in every frame on a gallery wall.
- Cut
- Pre-cut bevel opening
- Material
- Acid-free board with backing
- Colors
- White and ivory
- Packs
- Singles and multi-packs
The spec that decides it: Pre-cut acid-free mats in multi-packs, white and ivory.
Skip it if: You want a colored or double mat — these lines are plain white and ivory.
3. Best if you would rather skip all this
Golden State Art Matted Picture Frame
Golden State Art
Frame and acid-free mat in one purchase, already cut and assembled. For a standard print it is the least work and often the least money.
- Common openings
- 11x14 frame matted to 8x10; 16x20 matted to 11x14
- Mat
- Acid-free on the archival lines
- Glazing
- Glass or acrylic by line
- Packs
- Often sold in multi-packs
The spec that decides it: Standard step-down openings with acid-free matting, ready assembled.
Skip it if: You want a 3 in border — in-box mats give roughly 1.5 to 2 in.
4. Best removable-mat frame
Americanflat Matted Picture Frame
Americanflat
The mat lifts out, so you can start with the supplied mat and swap in a cut-to-size one later without buying another frame.
- Common openings
- Standard step-down sizes with the mat in the box
- Mat
- Removable — the frame also takes the full size unmatted
- Glazing
- Shatter-resistant plexiglass
- Orientation
- Wall or tabletop
The spec that decides it: Removable mat with shatter-resistant plexiglass glazing.
Skip it if: You are certain of the final layout — a fixed matted frame costs less.
Common questions
How do you work out the mat opening size?
Subtract about a quarter inch from the print on each side, so the board overlaps the paper edge and holds it. An 8x10 print gets roughly a 7.75 x 9.75 inch opening. Add twice your chosen border to that to get the frame size.
How do you attach a print to a mat?
Two short pieces of archival hinging tape along the top edge only, so the print hangs freely. Paper expands and contracts with humidity, and a print stuck down on all four sides ripples permanently. Acid-free photo corners are the even more reversible option.
Can you use regular tape to mount a print?
No. Ordinary tape yellows and its adhesive migrates into the paper, leaving a permanent stain. The same applies to glue sticks, spray adhesive and double-sided tape. Use archival hinging tape or acid-free photo corners.
Is it cheaper to cut your own mats?
Only at volume. A bevel mat cutter plus board pays back after several mats, and first attempts visibly show. For standard sizes, pre-cut acid-free mats cost a fraction of the tools and come out cleaner.
What thickness of mat board should I use?
4-ply is standard. 8-ply is double thickness and gives a deeper bevel that reads as considerably more expensive — on a small print it is a cheap way to look like custom framing.
Sources for the figures on this page
Read next
- Mat Sizes for Standard Prints
The complete print size to mat opening to frame size matrix, with published border widths by artwork size.
- Best Matted Frames
Matted frames compared on border width, acid-free board and the step-down sizes each line covers.
- Picture Frame Sizes Chart
Every standard frame size with its unmatted and matted capacity — the table to check before you order anything.
- How to Make Cheap Art Look Expensive
Matting, scale, hanging height, frame consistency and glazing — the five changes that do almost all the work.
- Matching vs Mixed Frames
The four variables on a gallery wall, how many you can change at once, and why mixed walls usually fail.
- Best Picture Frames
Frame lines compared on glazing, mat quality, size range and depth — plus what genuinely changes with price.